
Ahh back to imposter! It’s great to be back at work with this system. This week I have a few updates on what I’ve accomplished and what I’ve had to scrap (at least for the time being).
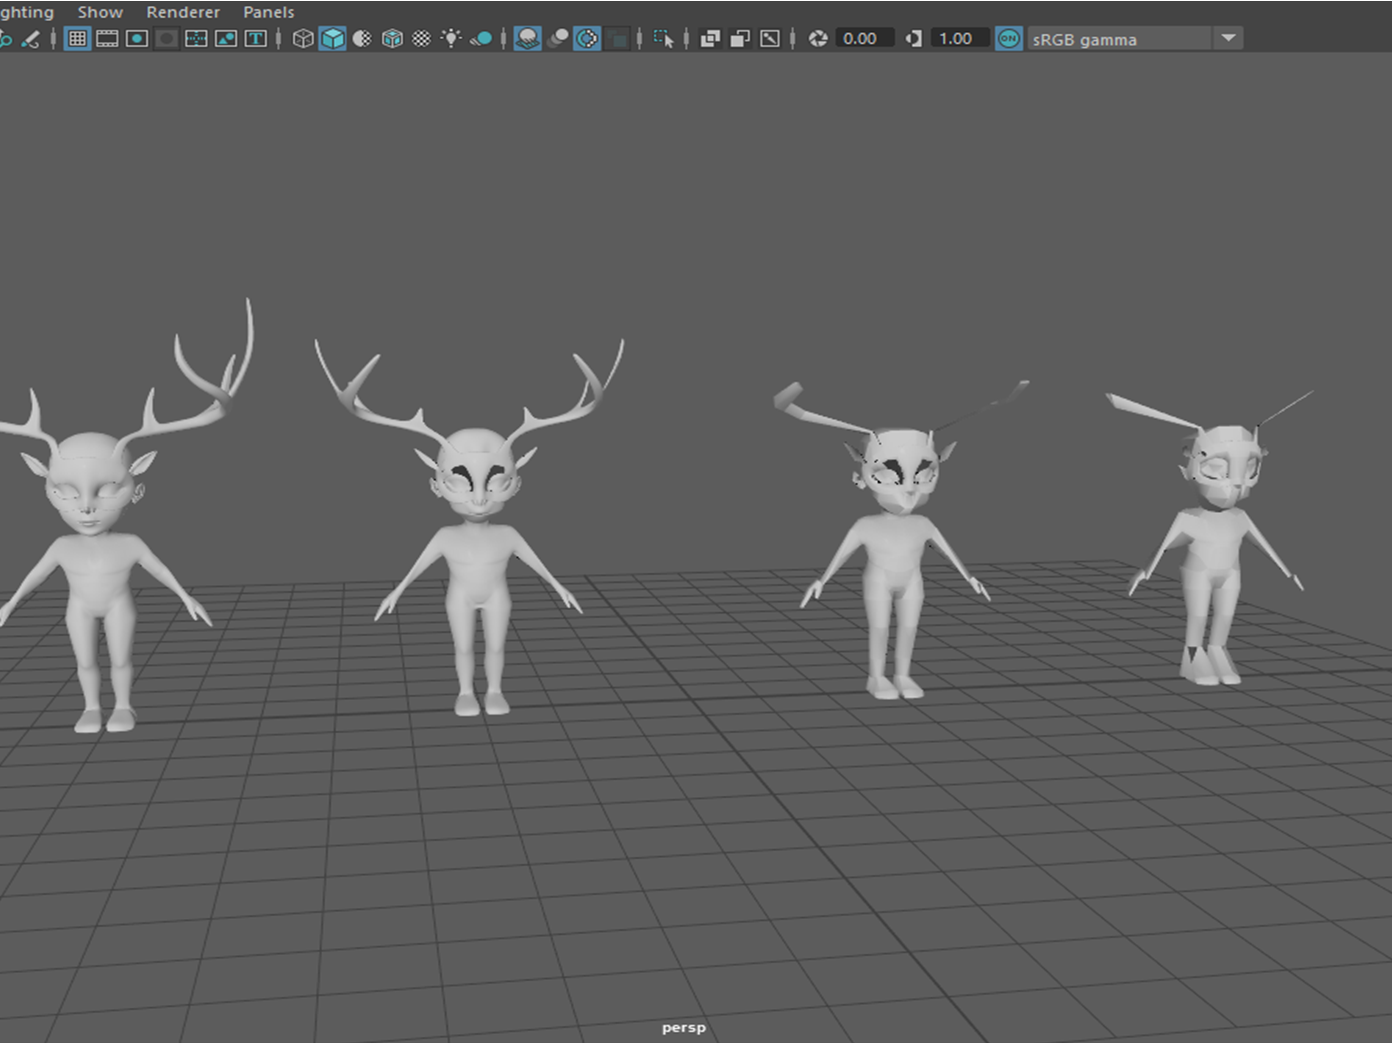
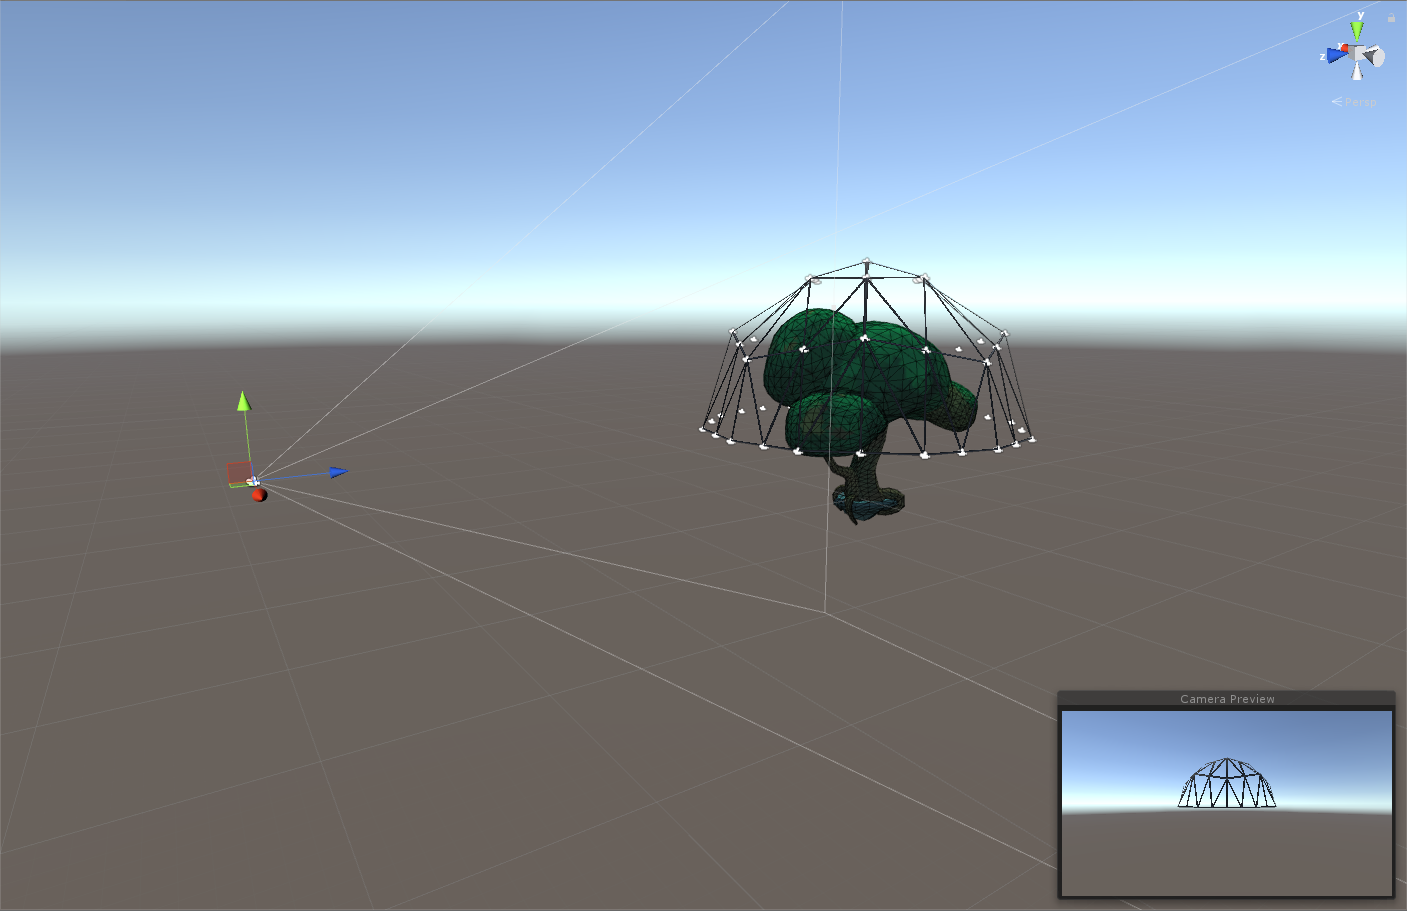
Last imposter post I covered how I created a mesh in Maya, added cameras to each vertex in Unity, and captured images of the complex mesh within it from those cameras.
Accomplishments
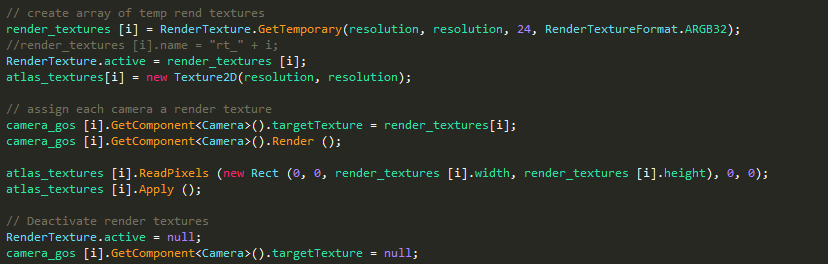
After capturing all of the images at the vertices, I convert all of the Render Textures to Texture2Ds which can be applied to a camera facing quad. In the script below I create a Texture2D at the same resolution of the Render Texture, call Render() to capture the Render Texture camera, and then call ReadPixels() to copy it over to the Texture2D.
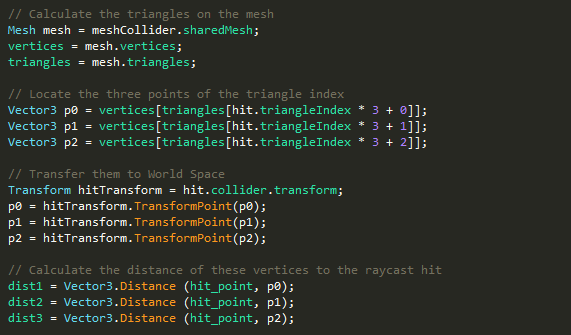
With the Texture2D array setup, I move to my Raycasting script. Here I determine which triangle index the Raycast from the player camera hits using hit.point. I also find the three points that make up the current triangle in view of the player. With these I calculate the distance from each triangle point to the player’s hit_point. After finding the minimum distance of the three, I can set it in my quad’s material update function.

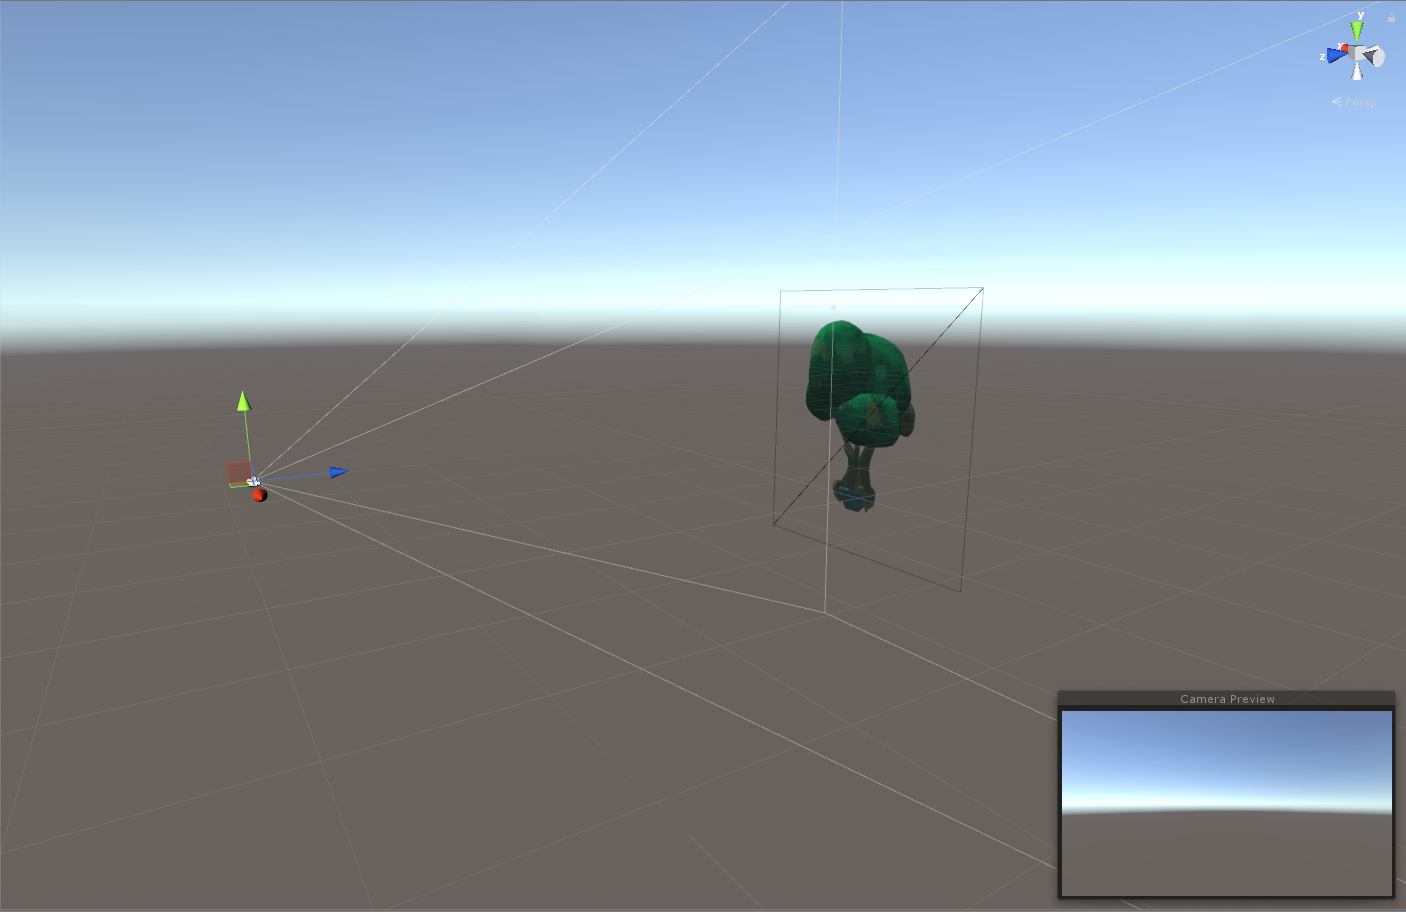
To hide the complex mesh, I currently use two cameras, each with different Culling Masks. The first camera Player is the main camera and only views the camera facing quad. The Player camera views every layer but the imposter layer. That layer is only for the Imposter camera. The Imposter camera only handles the Raycast on the big ugly hemioctahedron mesh. Below is a representation of what each camera views.
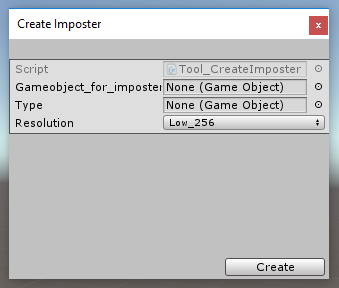
In addition to this, I’m working on a tool that will let me make imposters in the editor. In it, the user will have control over the object rendered, the type of mesh used for their vertices (octahedron, hemioctahedron, etc.), and a choice of resolution for the textures.
Failures
The greatest failure this week was trying to blend between the three frames the Raycast hit is closest to. The running theory is that for every triangle, there would be 3 frames the camera could see. As such, it would make sense to blend those frames, creating an illusion of moving around the tree and not just jumping to the next closest frame.
My greatest issue is that I haven’t gotten this step to work. More specifically, devising a way to measure the weight I need to blend the 3 frames. The last method I tried was using color. By texturing each quad like in the image below and then reading in the RGB value at the hit.point, I should be able to tell how close I am to a vertex. I haven’t gotten it working yet because I can’t tell which vertex has which color associated to it. Once I have that, the blend shader will be easy.
References
Amplify Imposter http://amplify.pt/unity/amplify-impostors/
Happy Tuesday!