MatCap
This week I took a bit of a break from the teleportation effect to focus on my work for Groundless a bit more. With 5 weeks left before the senior showcase, I figured I'd combine my work for it with these tech posts as much as I could. As a result, I will be just diving further into the tech work I accomplish for the week.
For Groundless this week I worked to make a cloud system for the title screen. In my research in clouds in Unity I came across Howard Day's Unity Custom Cloud Shader. When I saw what he designed, I knew it was the path I wanted to follow. From then on, I focused more of my research into his process and eventually discovered Material Captures (or MatCaps).
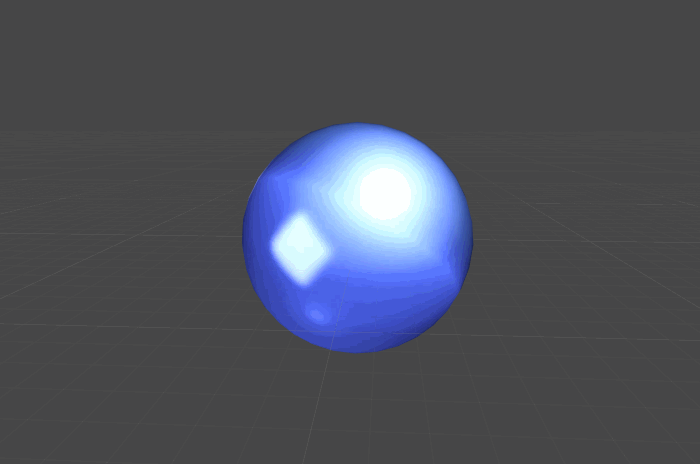
A MatCap is a 2D texture representing a 3D surface that includes lighting and reflections. As such, it doesn't require light and can drastically reduce CPU and GPU overhead. MatCaps are popular in modeling programs like Zbrush and blender because they help show how the surface of the model has changed. The following resources helped me learn about that process:
Howard Day's Matcap Lighting and Advanced Shader
CG Cookie Unity Introduction to Matcaps in Unity
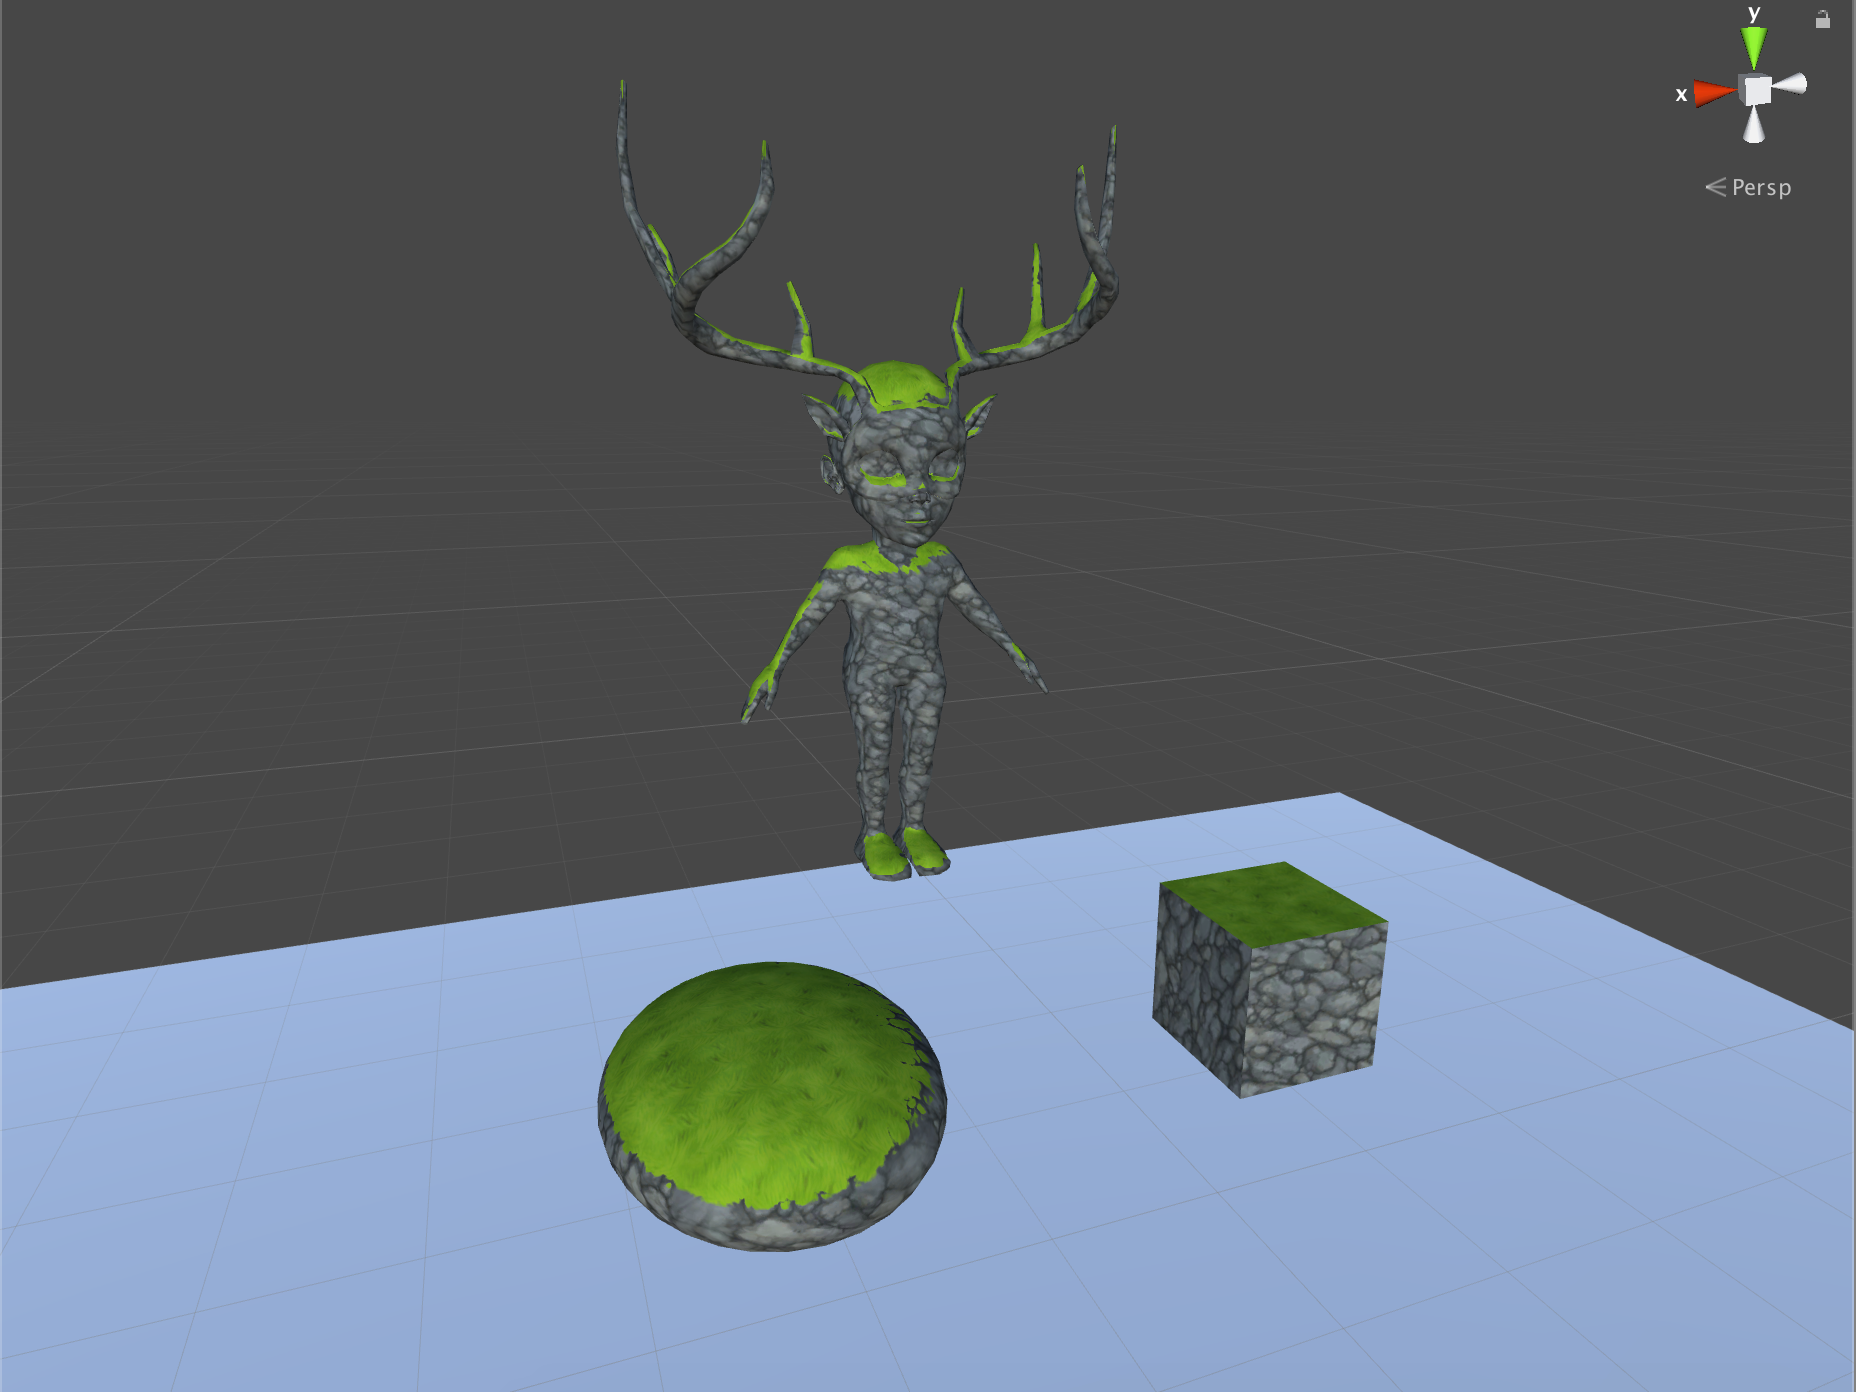
My first two shaders were simpler than the cloud particle shader, but a good start into MatCaps. I wanted to gain a good understanding of the basics before jumping in head first. Below are two MatCap shaders: the left is with a single material, and the right is a multiplying of two textures (a camera based lighting, and a world space lighting).
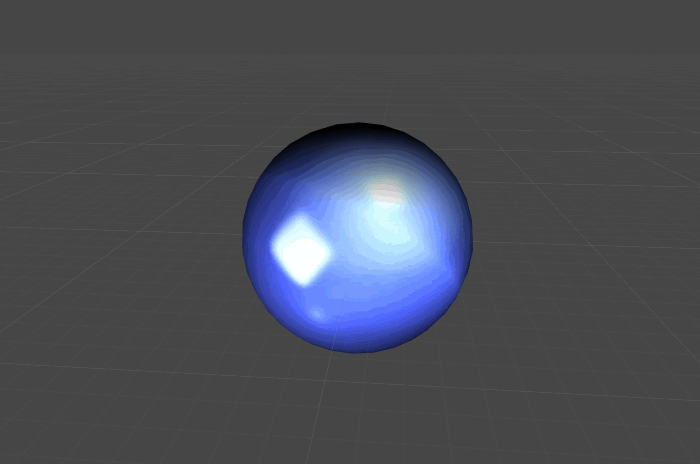
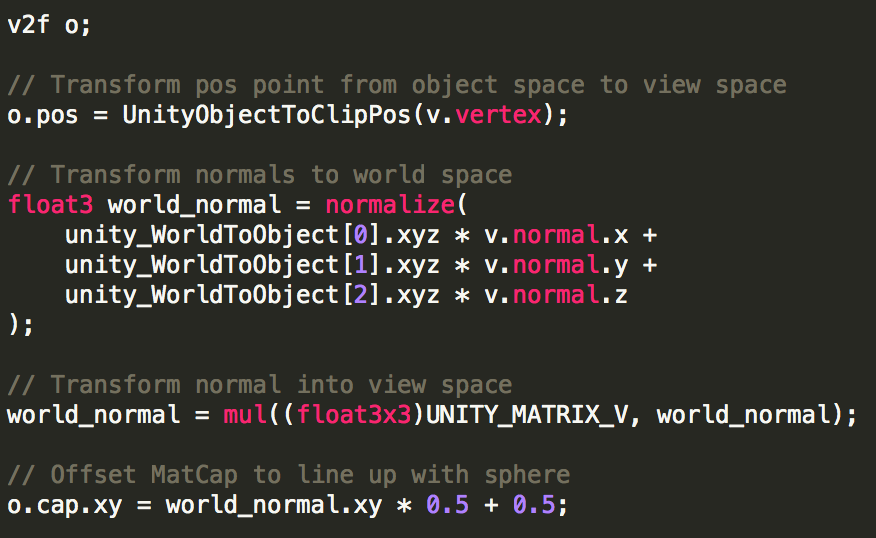
The barebones MatCap shader is very straight forward. It simply overlays/projects the texture selected onto the mesh with the help of the mesh's normals. Some of my code for the vert and frag functions are below.

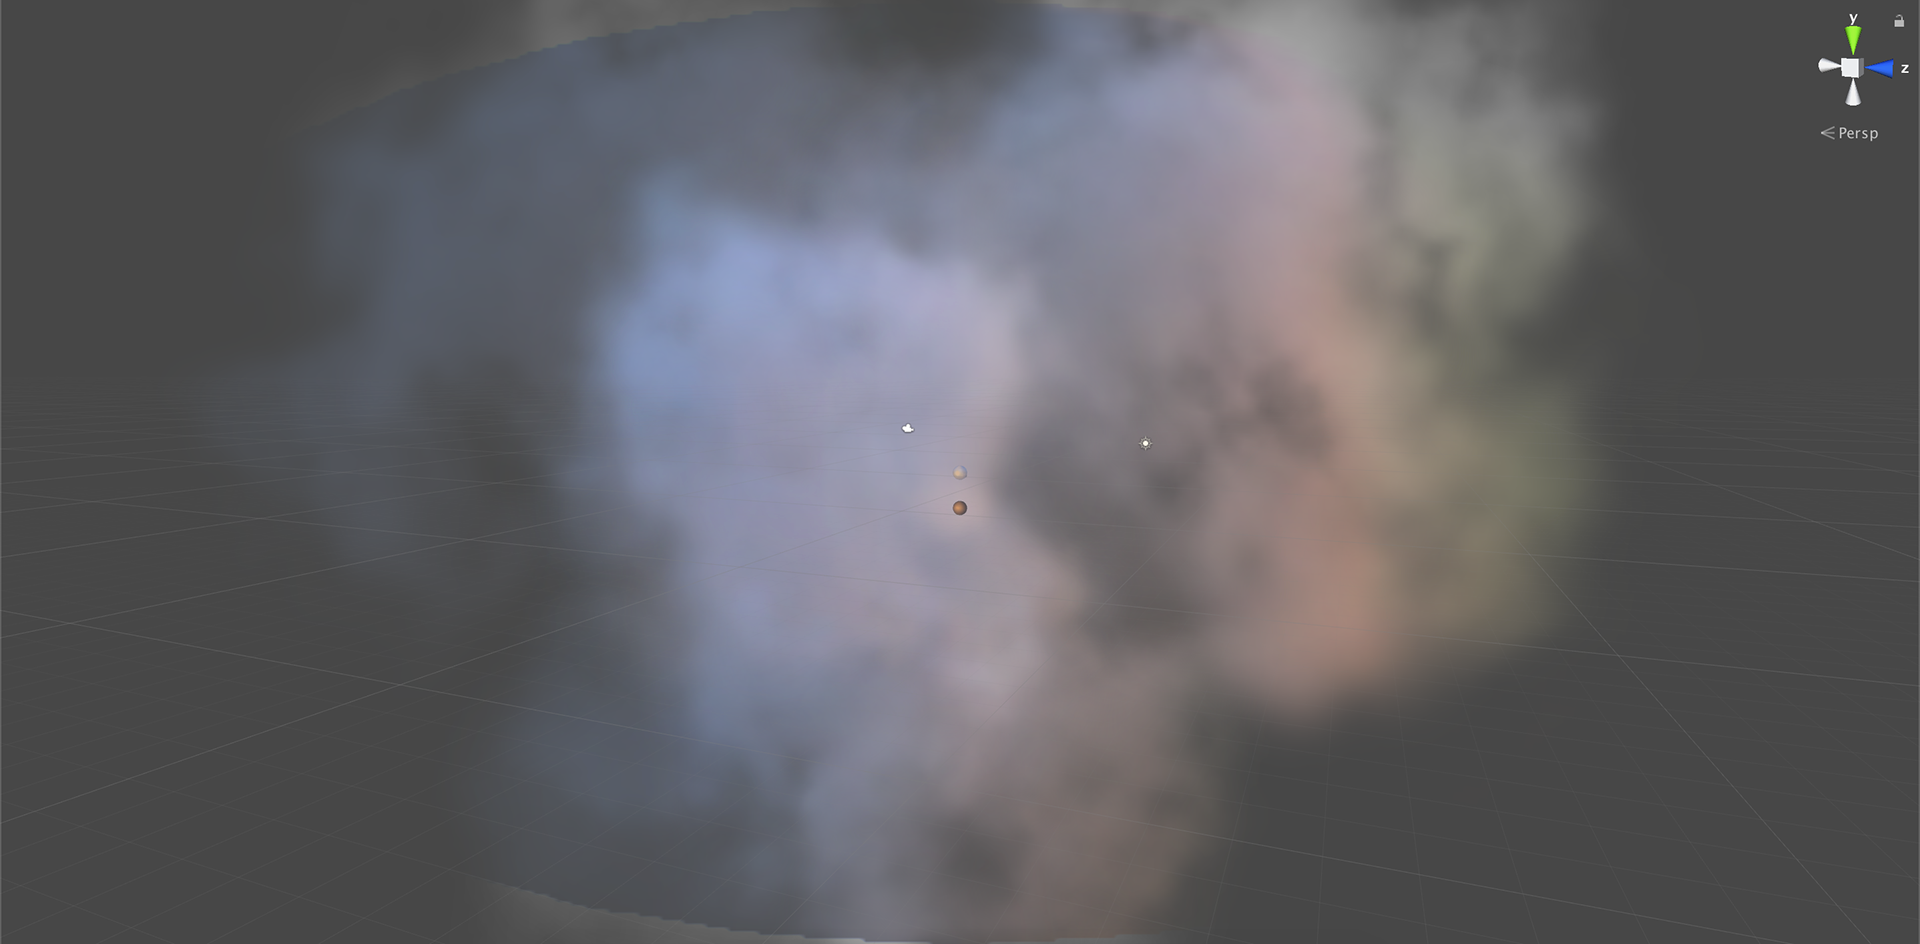
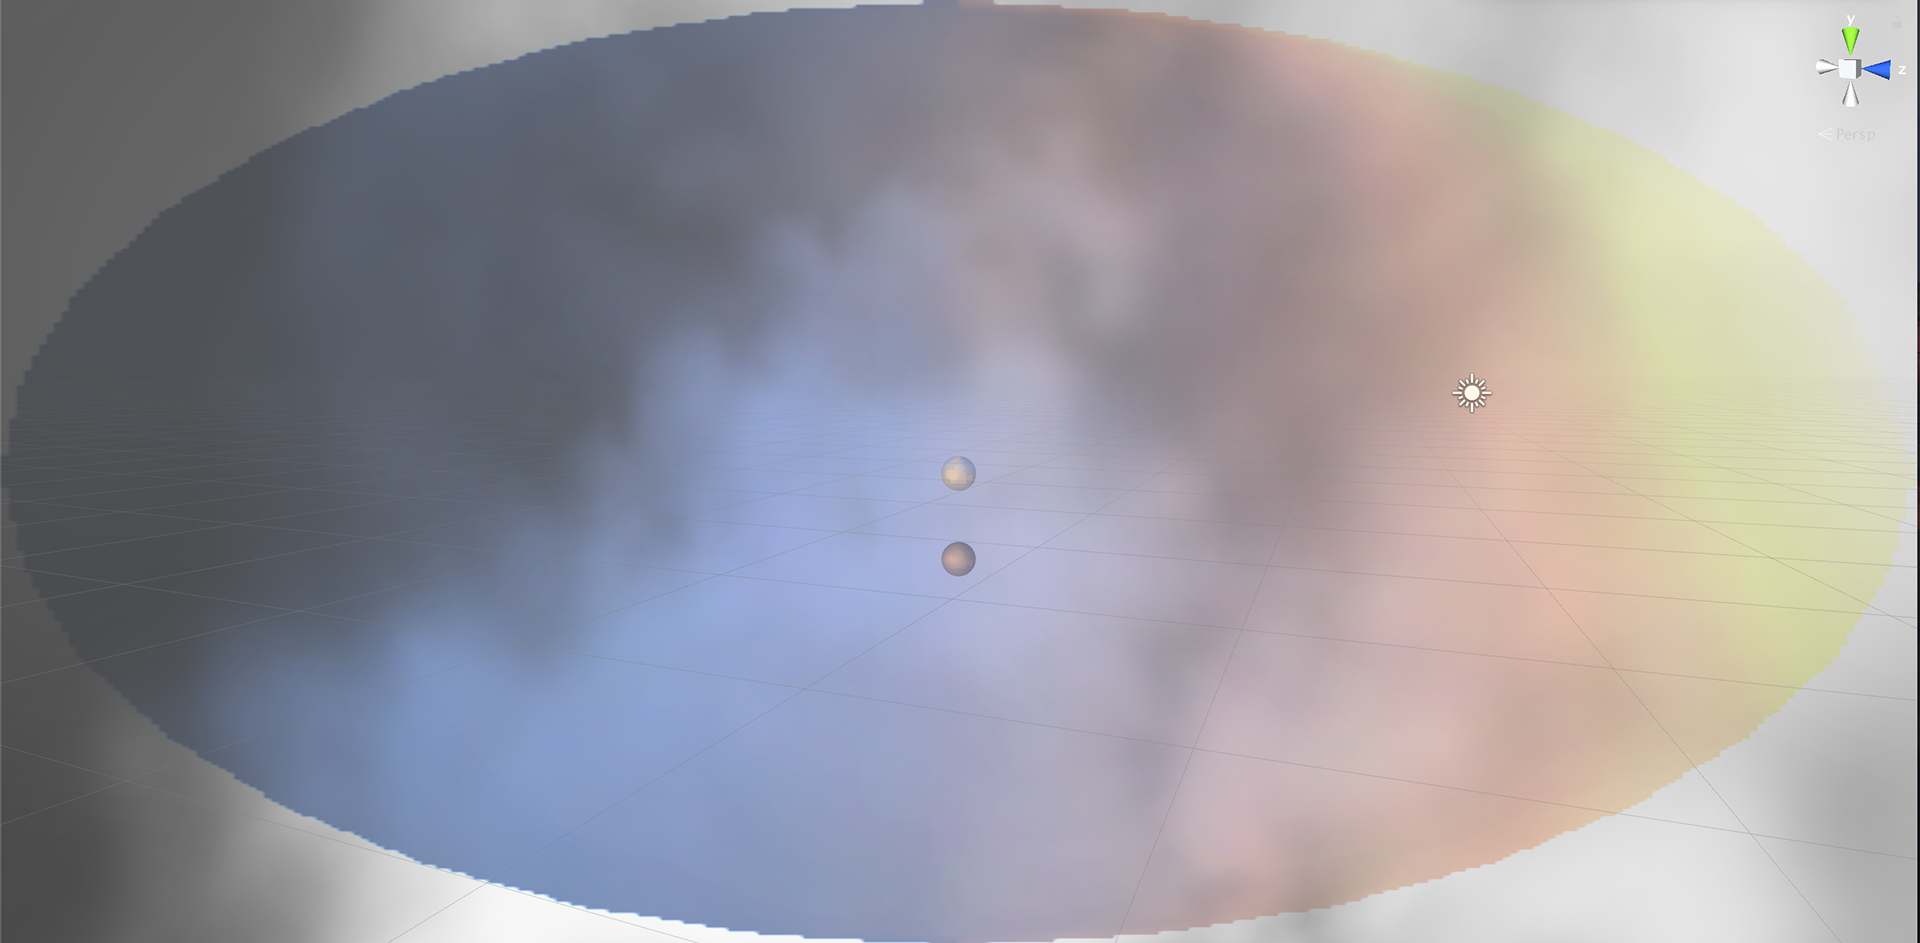
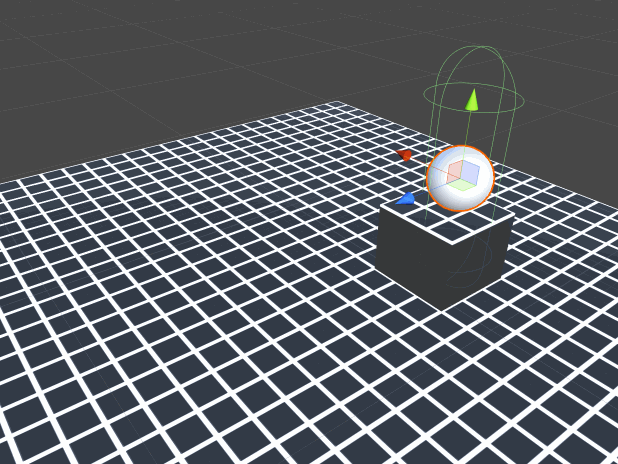
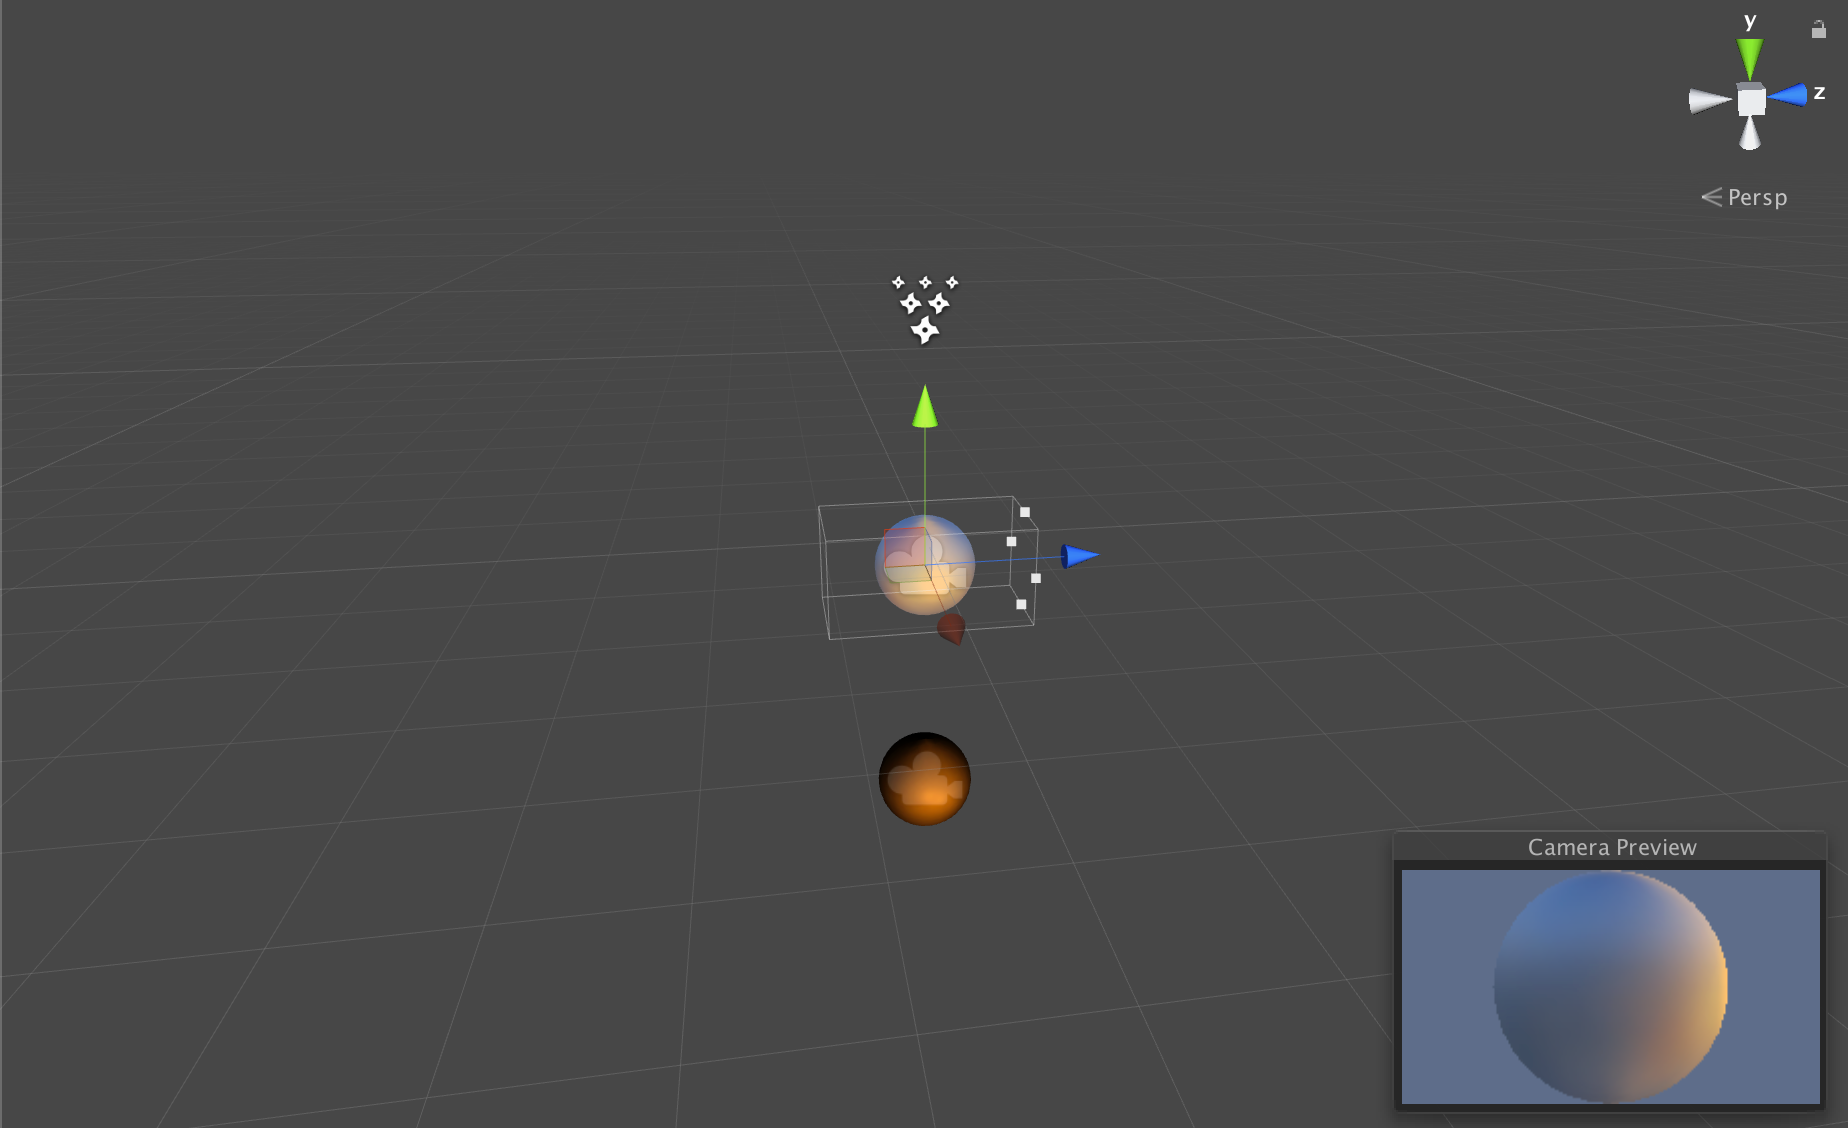
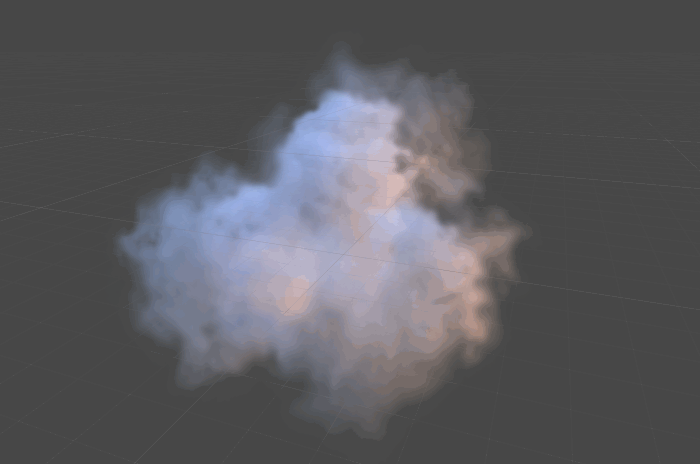
To achieve a cloud system similar to what Howard Day did, I needed to include what I'm calling custom light probes. Each probe is a sphere with a texture with an orthographic camera attached. The orthographic camera is positioned in such a way that it captures the lighting probe at the proper proportions to be saved as a render texture that mimics a MatCap texture. This appears in the image on the far left. The top sphere acts as the overall lighting of the target and the bottom sphere acts as the warm edge glow.
Once applied to a particle system, the render textures create a nice lighting effect that resembles a sunset. The overlay effect achieved by the shader provides this lighting style.
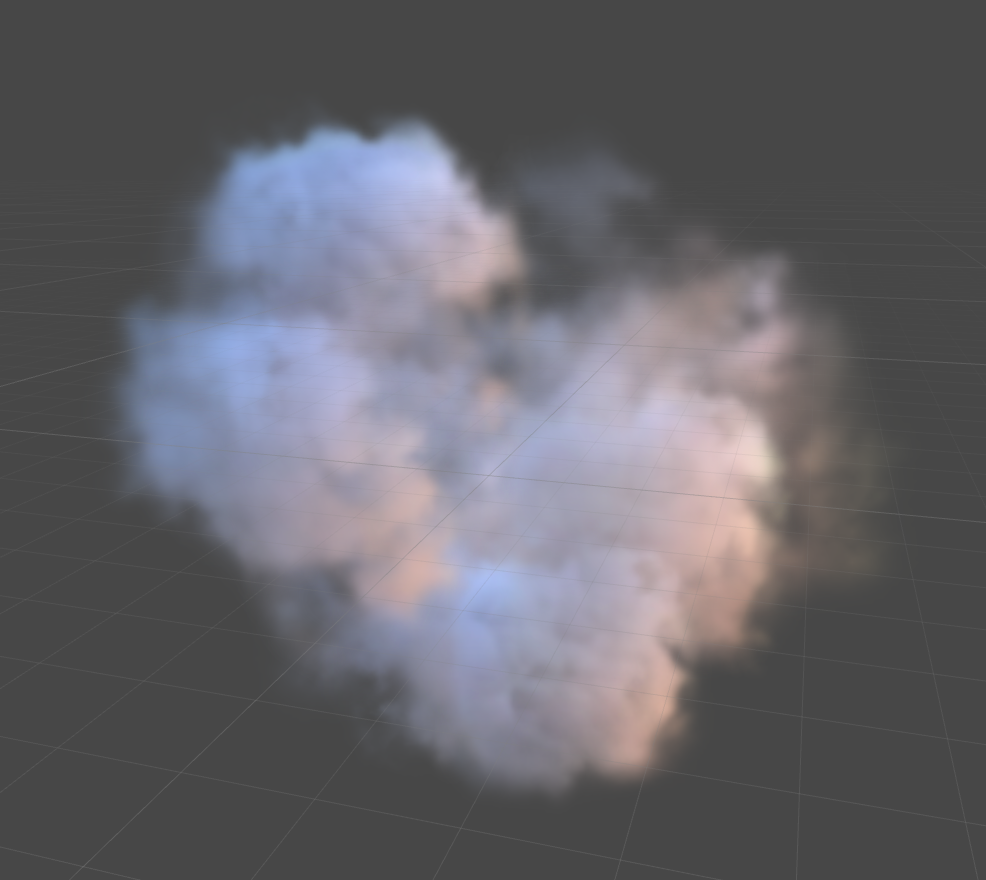
Some limitations of the shader include the inability for the particle system to be too close to the camera. If it is, the texture overlay sphere becomes visible. It's rather ugly because the render texture is 256x256.