Interactive Floor
RayMarching Distance Fields: "The technique is particularly interesting because it is entirely computed in a screen-space shader. In other words, no mesh data is provided to the renderer and the scene is drawn on a single quad that covers the camera’s field of vision"
- Flafla2
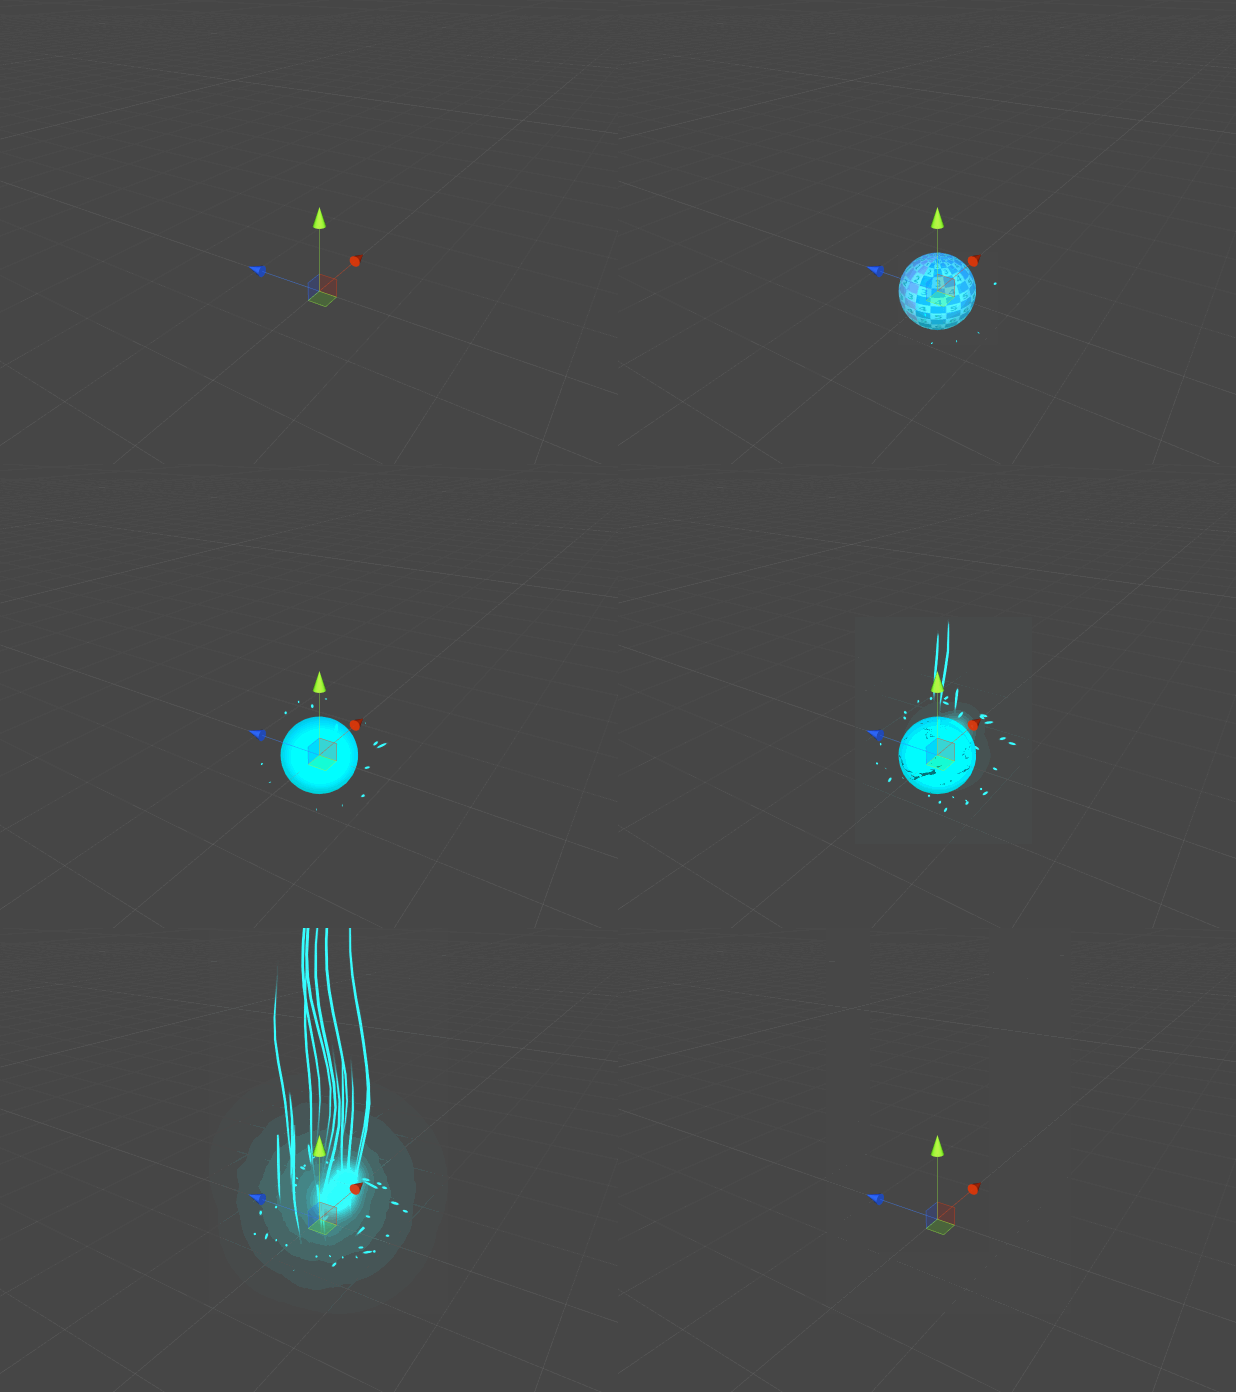
I stumbled upon RayMarching this week and was blown away with the power it holds. In the example below from the Youtube video I found by hecomi, the hexagonal shapes are all generated from a single shader script on a rectangular mesh. When I saw the effect in action, I immediately though about what I had done last week with trying to replicate the Sine VFX interactive floor. I'm not sure that this will help me with my current issues on the effect, but it's interesting none the less. RayMarching will definitely be something I look into in the future though.
World Space Material
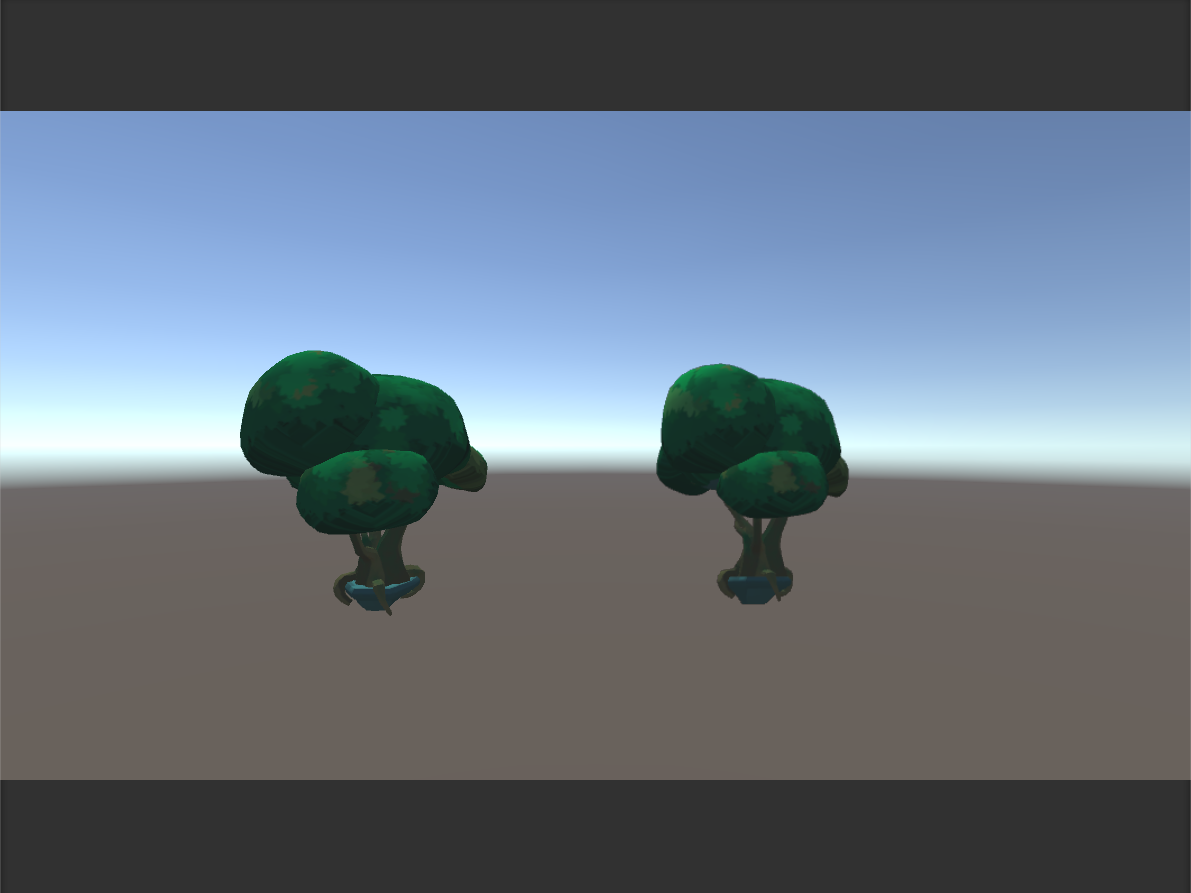
Last week I worked on the ground effect where a mesh with a specific material would always have grass on the top side of it. Rather than working on the texture part, I worked on the part where it would let the meshes merge together with the melting effect. At the moment that part of the shader has the mesh "melt" when it reaches a specific y-value, but going forward, I think I'll need to have it "melt" when it hits another collider.
I took a step back this week and began work on the actual texturing part. In order to not have the textures effected in World Space I would have to avoid using uv_MainTex as the Input, but instead use worldPos and worldNormal. In the surface shader I would have to rely on creating a new UV and texture map by merging projections of the textures.
Hard Edge Texture
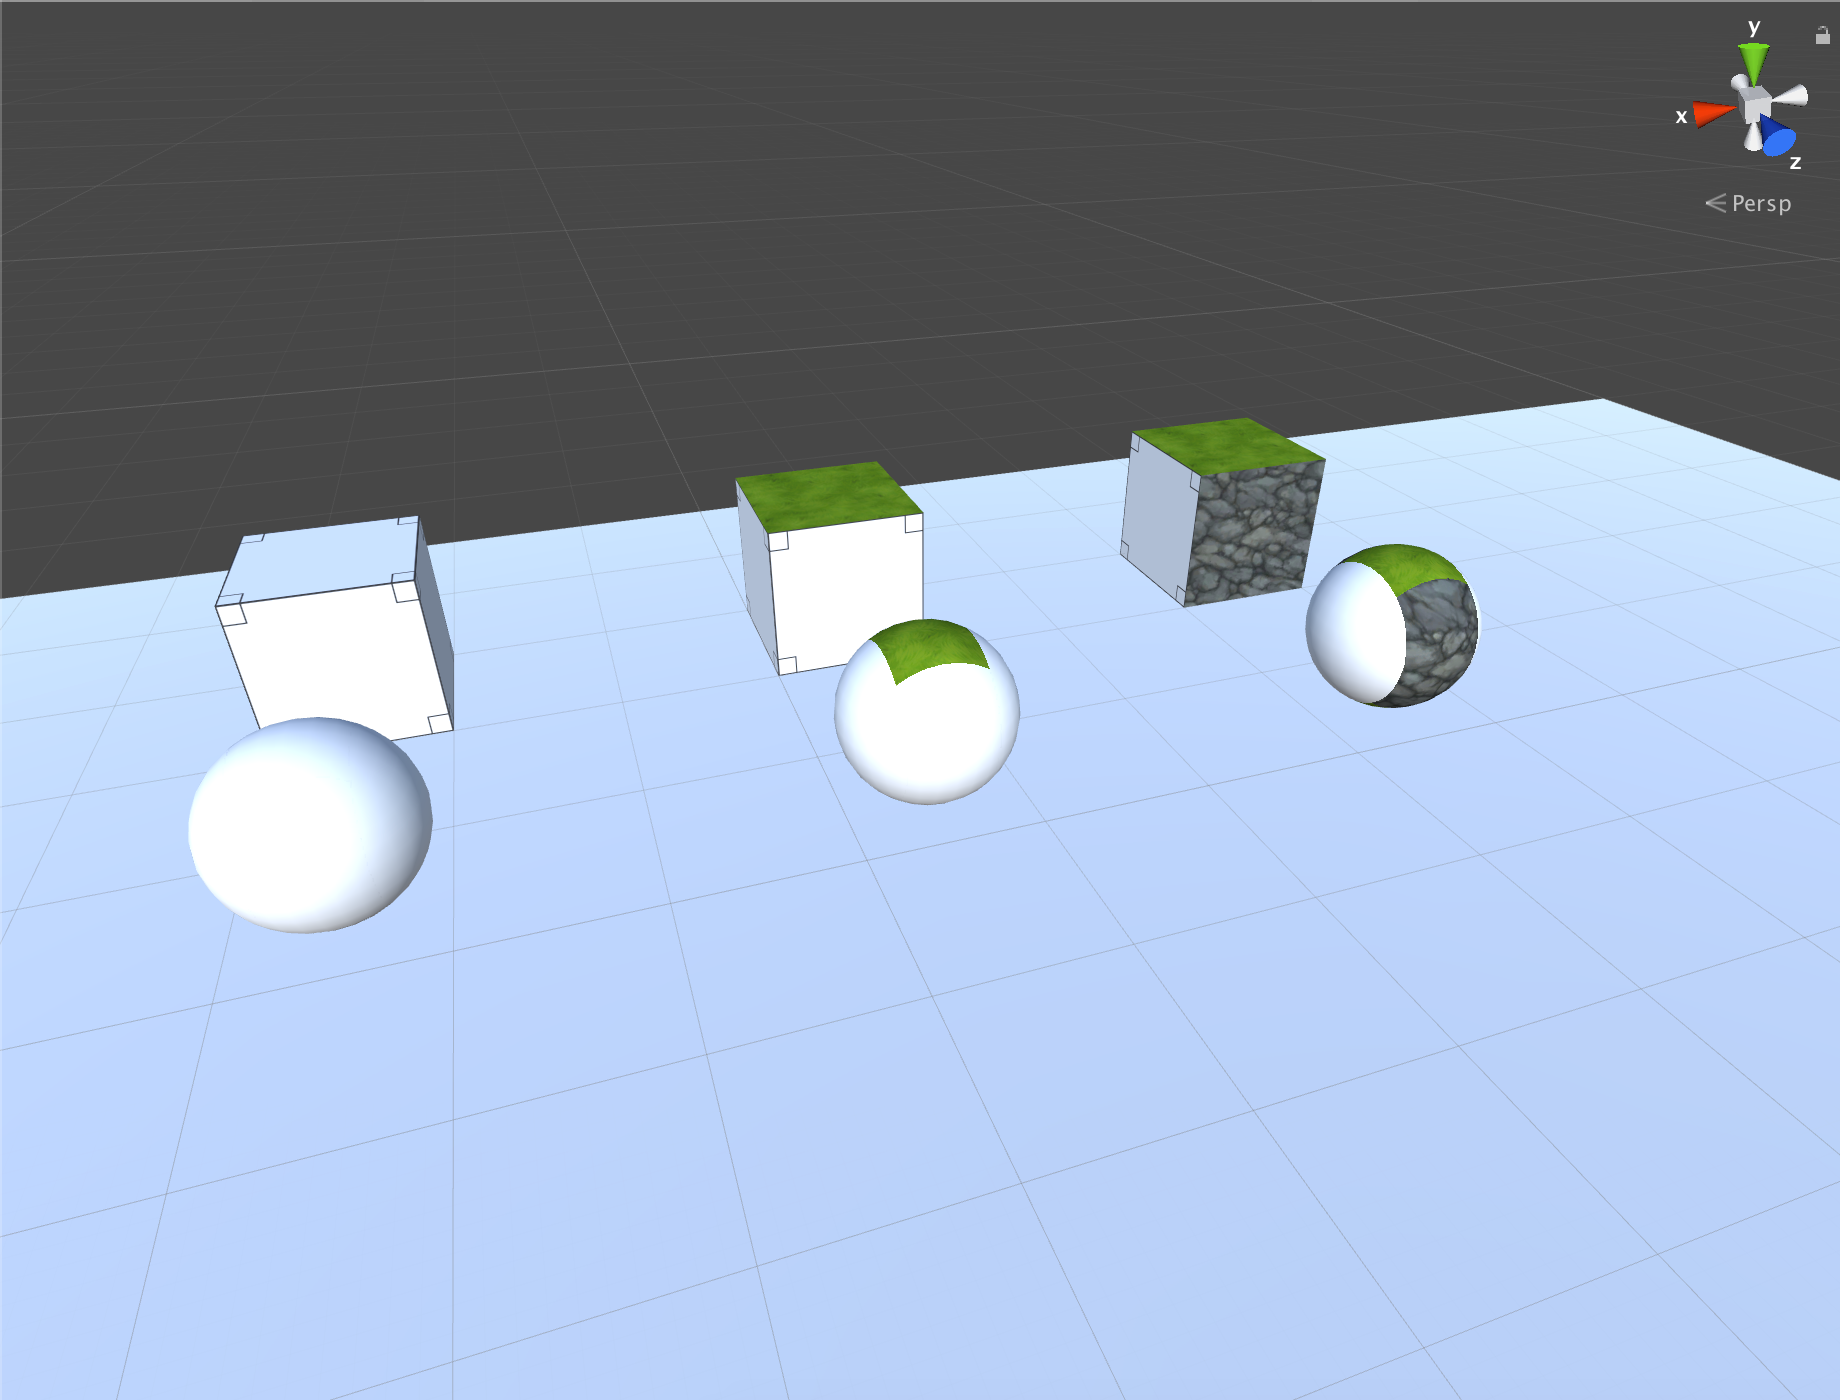
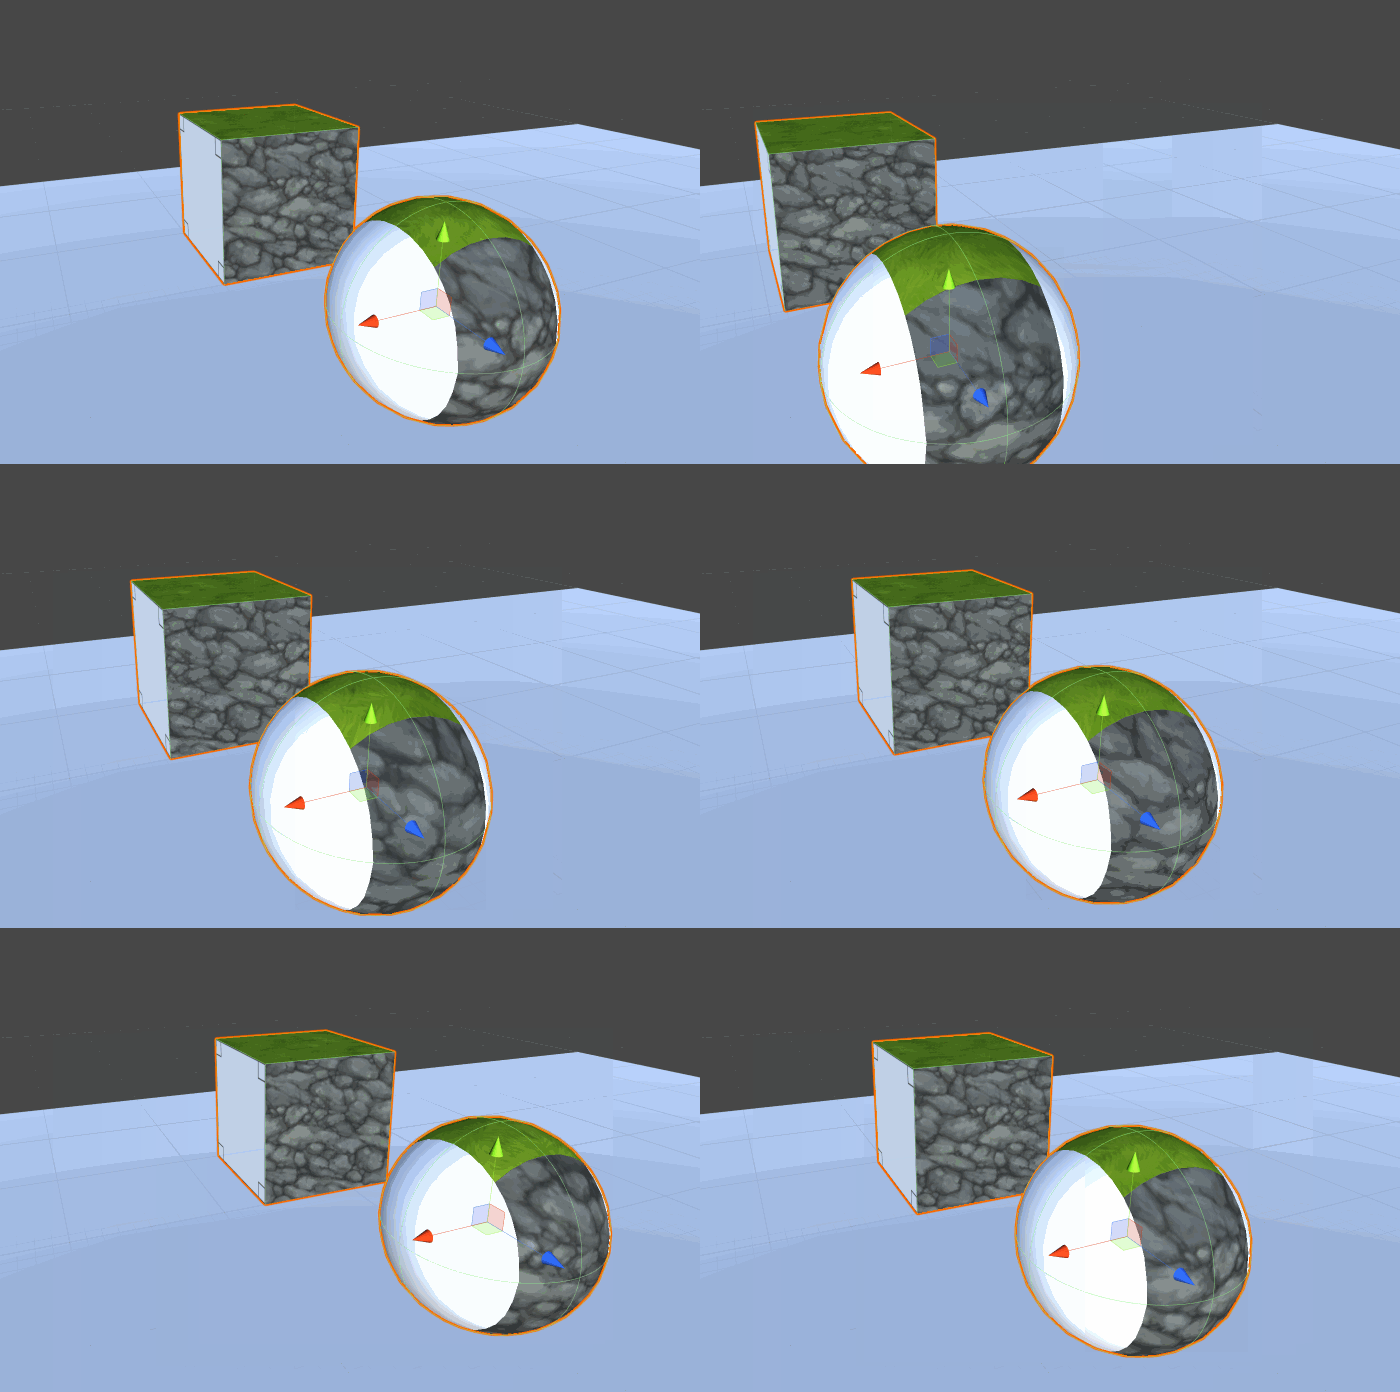
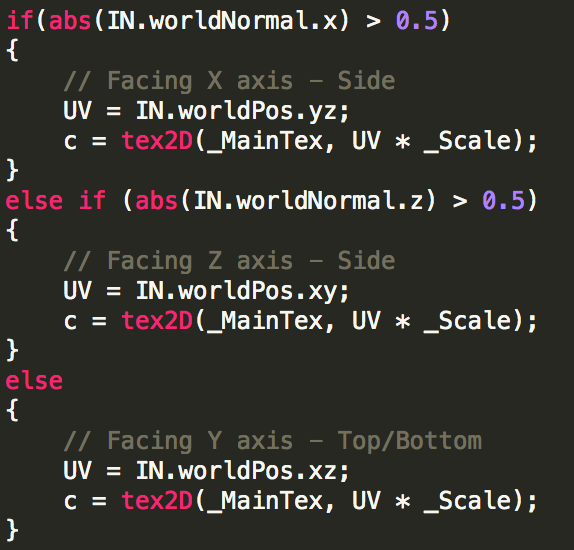
The first attempt at the world space material dealt with hard edges because they were simple projections based on values of the worldPos. In this version explained by PushyPixels , there are three if statements to separate the x, y and z planes of the object. These are to determine the direction of the object compared to the world, and then tile the texture appropriately. The clauses below can be explained as such: if the absolute value of the x worldNormal value is greater than a half (points mostly in that direction), then the UV is equivalent to the worldPos for the yz-plane and the texture should project on the yz-plane.
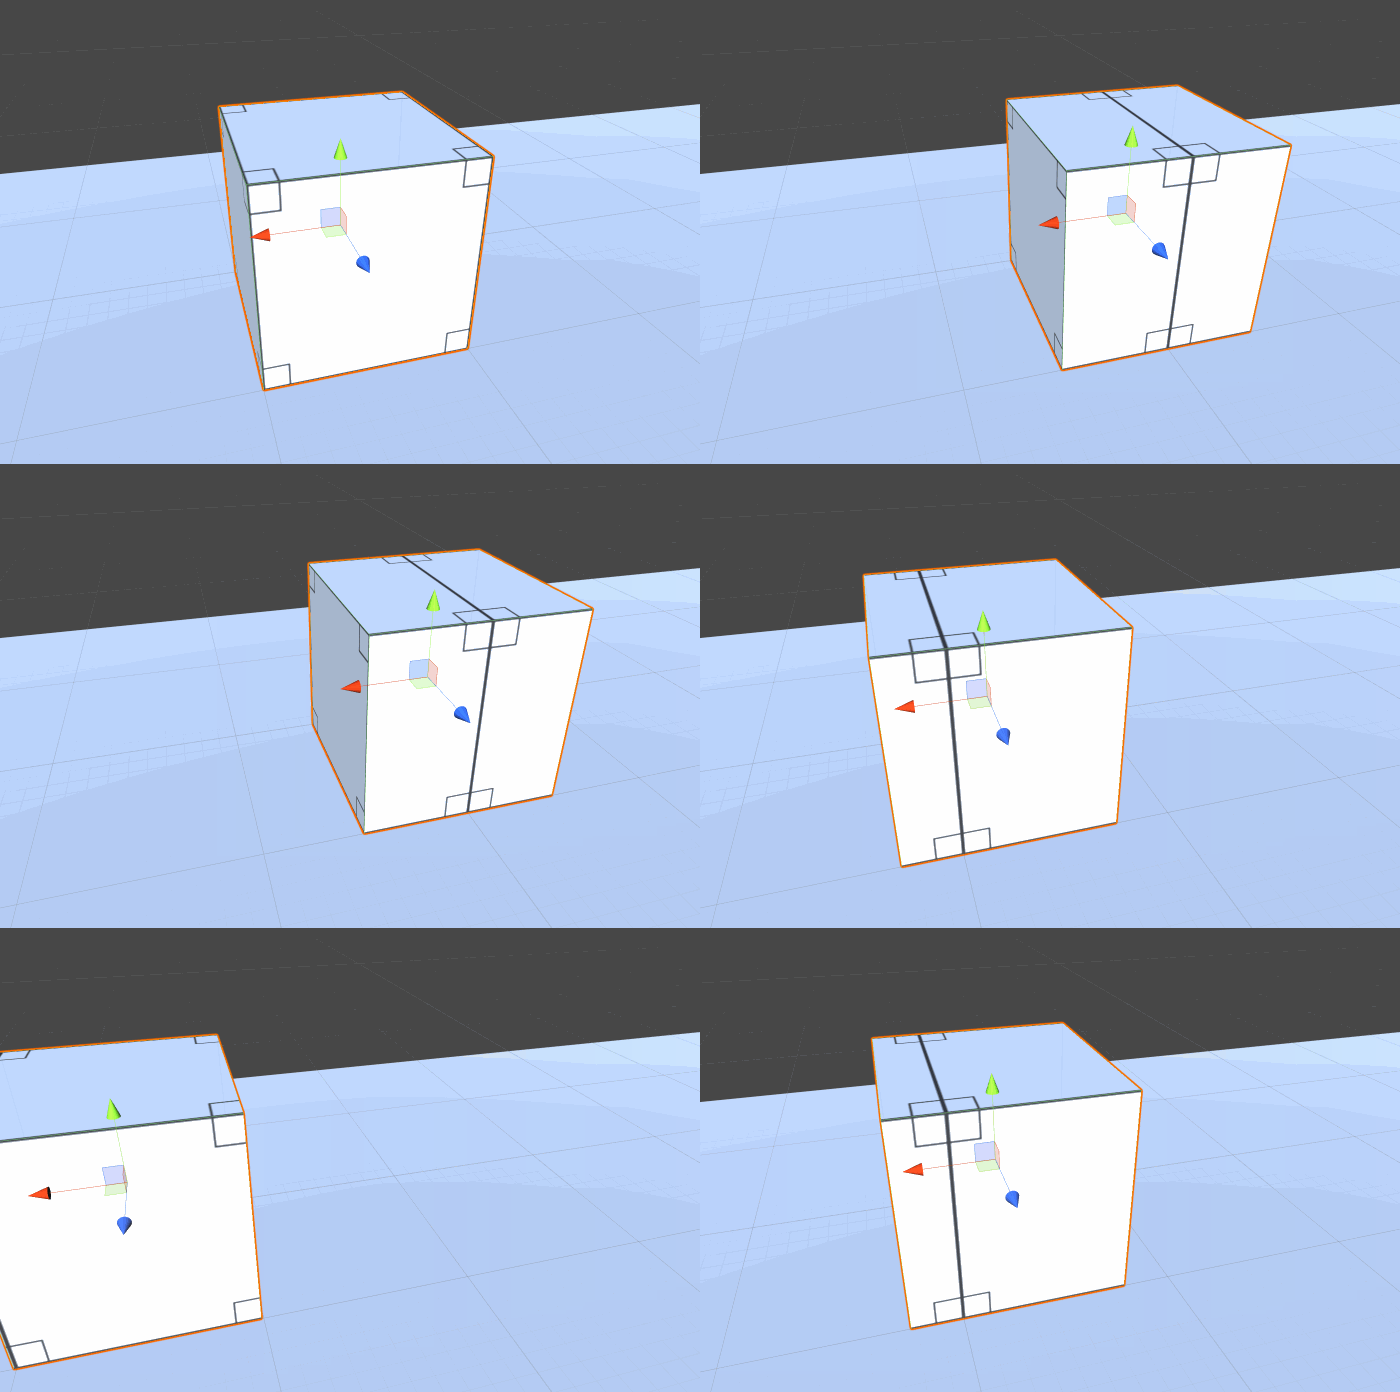
The three if statements help separate the side of the mesh, allowing for an easy plug and play, if more textures are wanted on the mesh. But it doesn't look too great. The lines are harsh and it when on a more complex model, it looks messy.
Blended Edge Texture
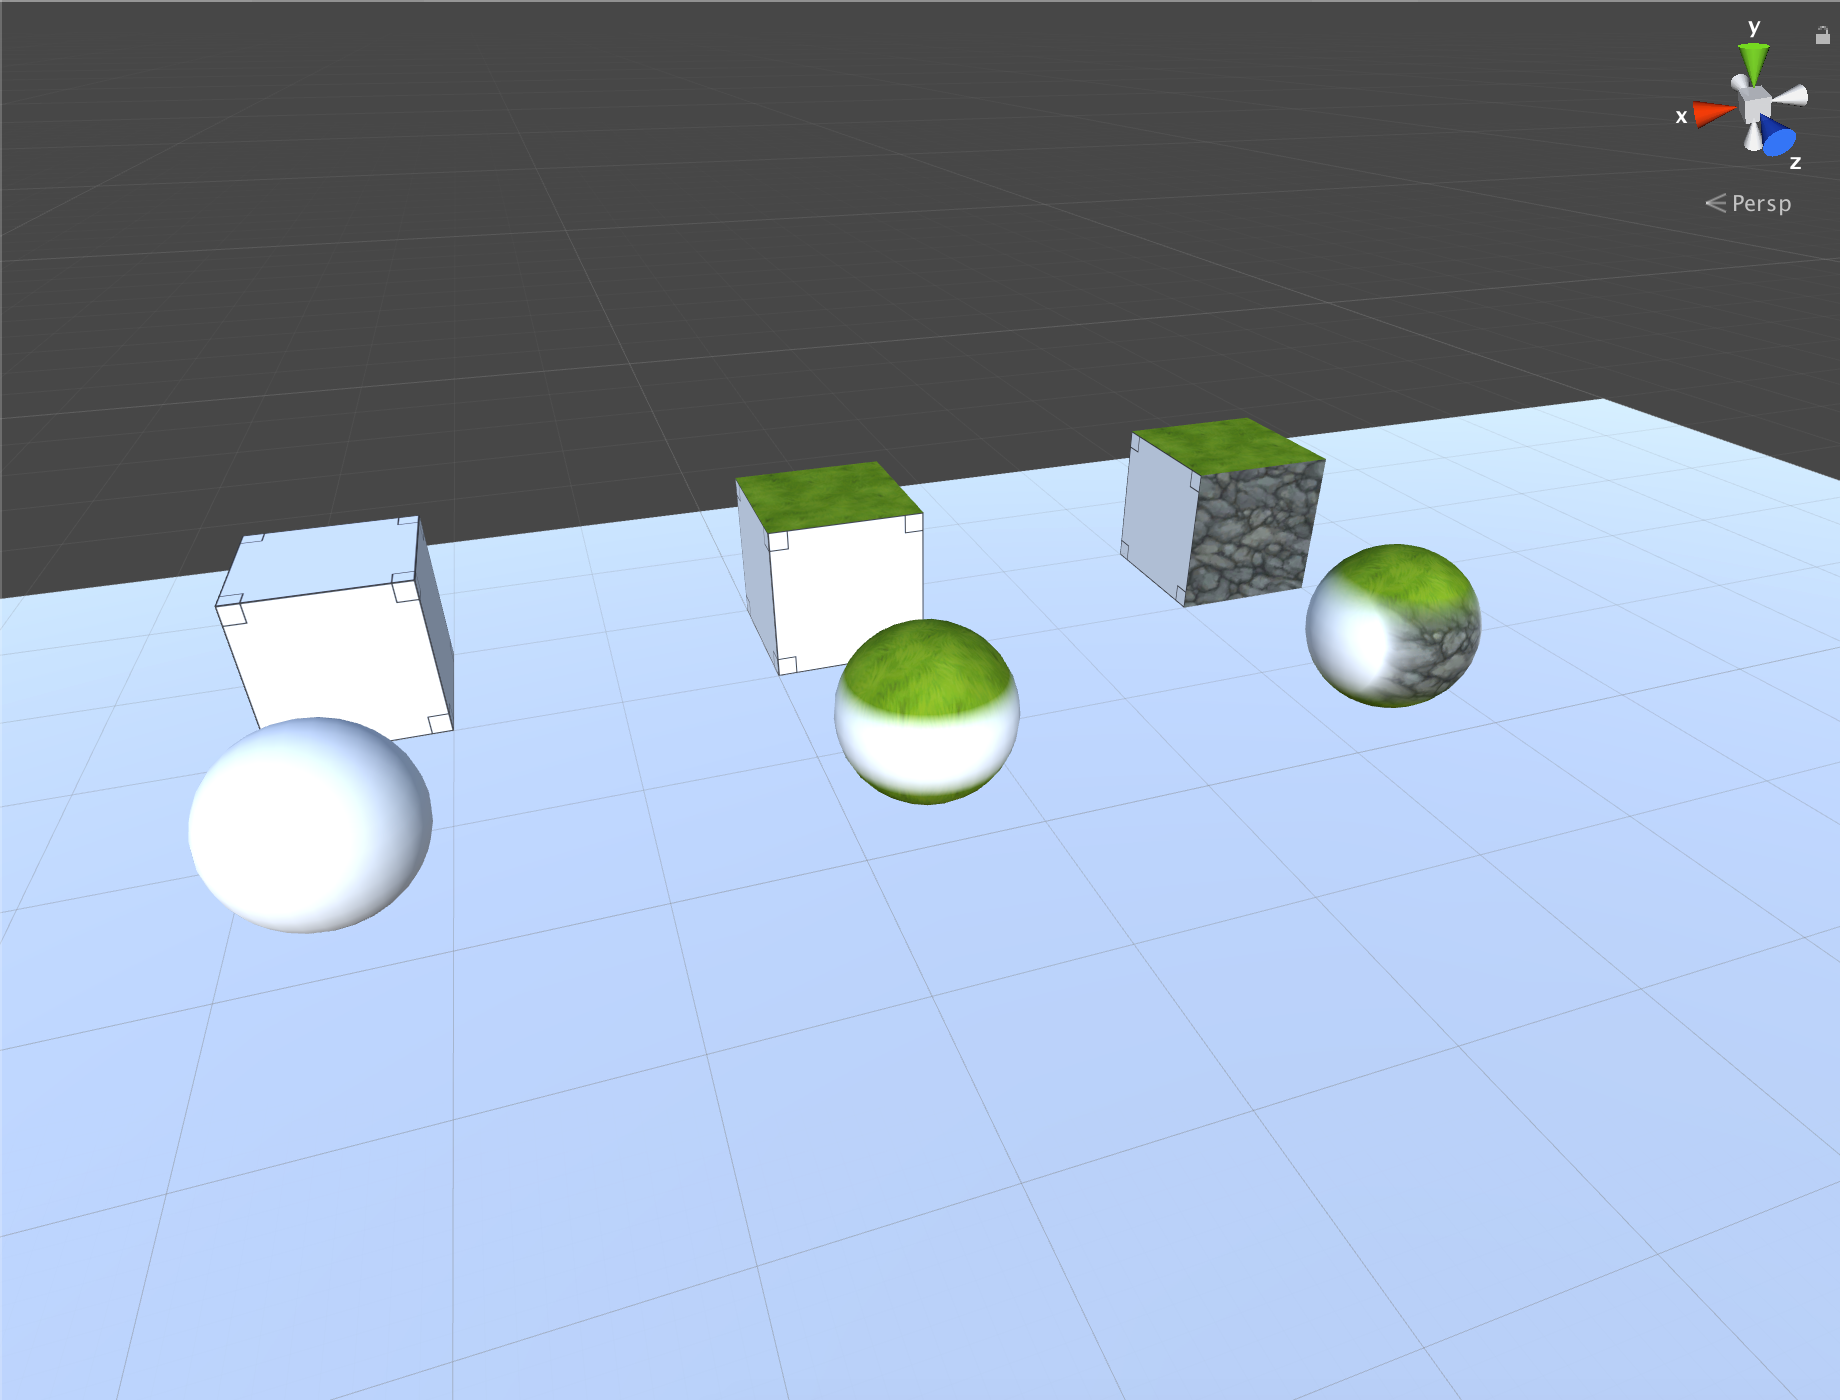
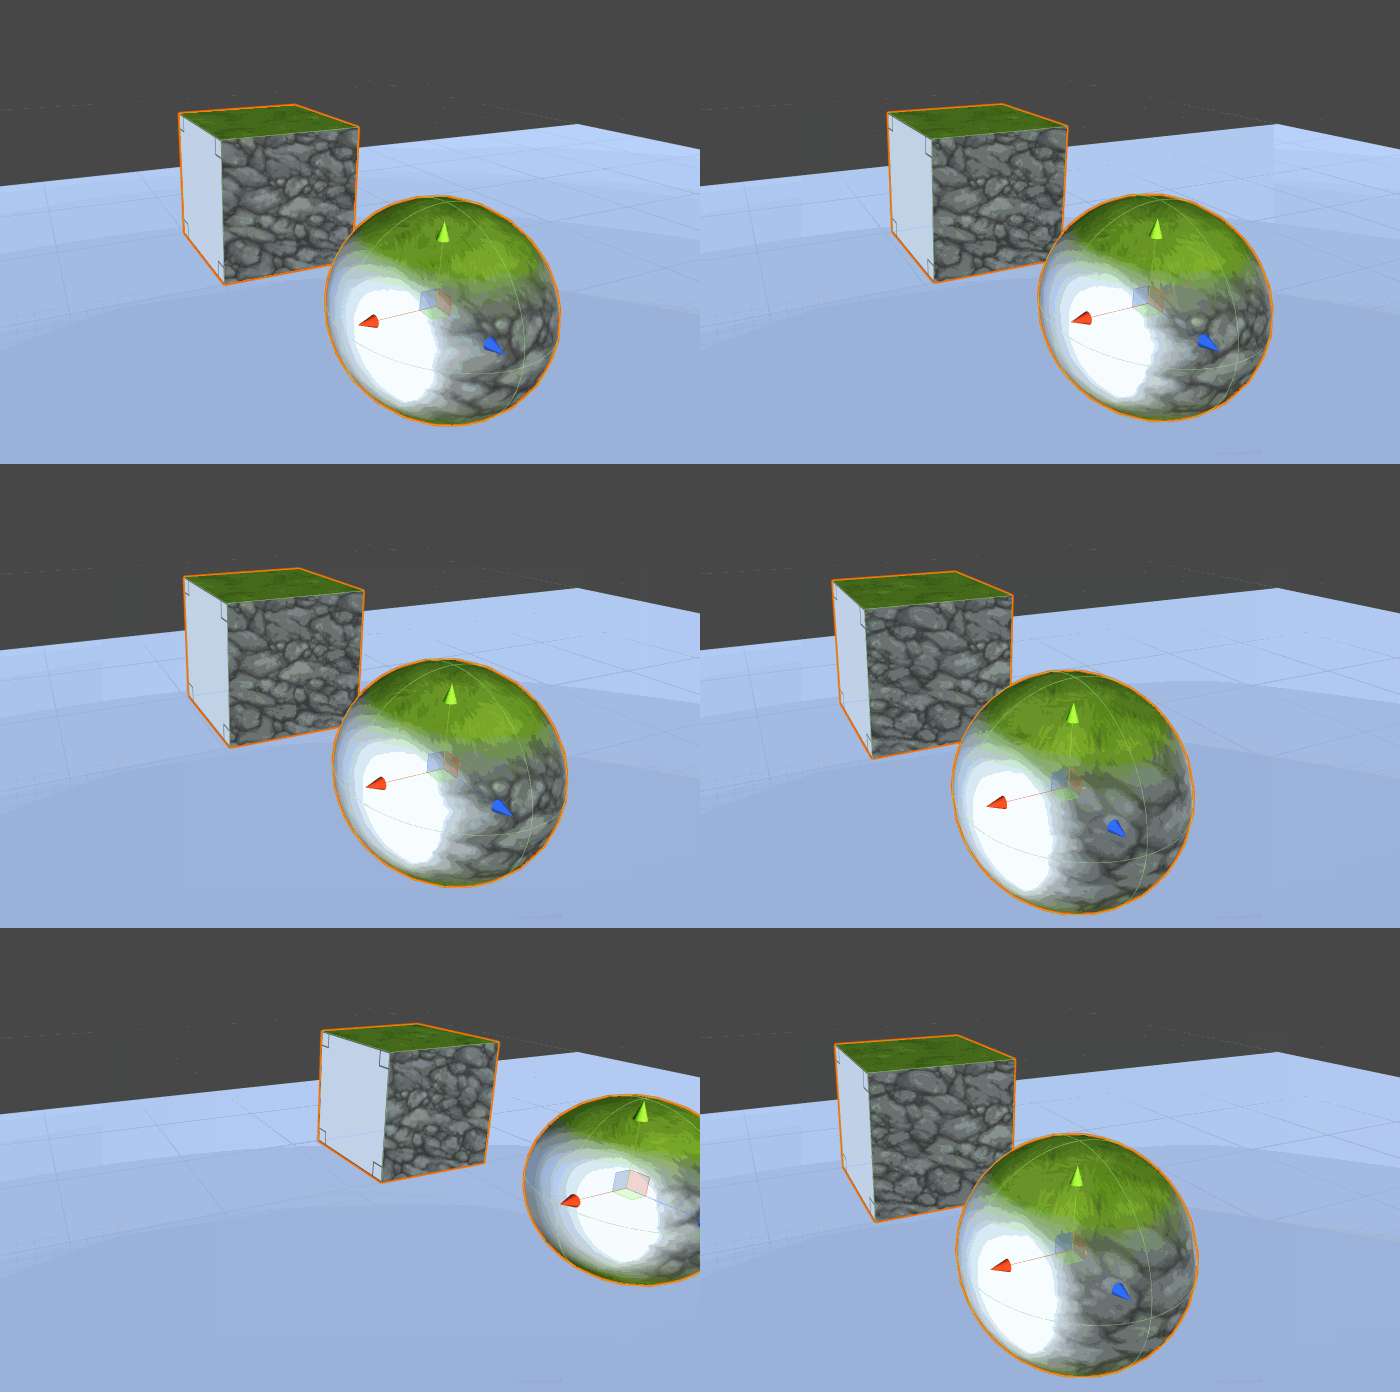
The next attempt at the material led me back to Joyce's texture. Her textures blended well into each other, and from the looks of how I had it coded, I would have to rework a few things. First, instead of separating everything with if statements, I decided that it would work better if I removed them. I pulled all of the tex2Ds out and remained them x, y and z. I simplified the code by removing the use of the UV value and just had the worldPos plugged right into the tex2Ds parameters. After this simplified section, I lerped all of the textures together with a modified Blend value based on the worldNormals.
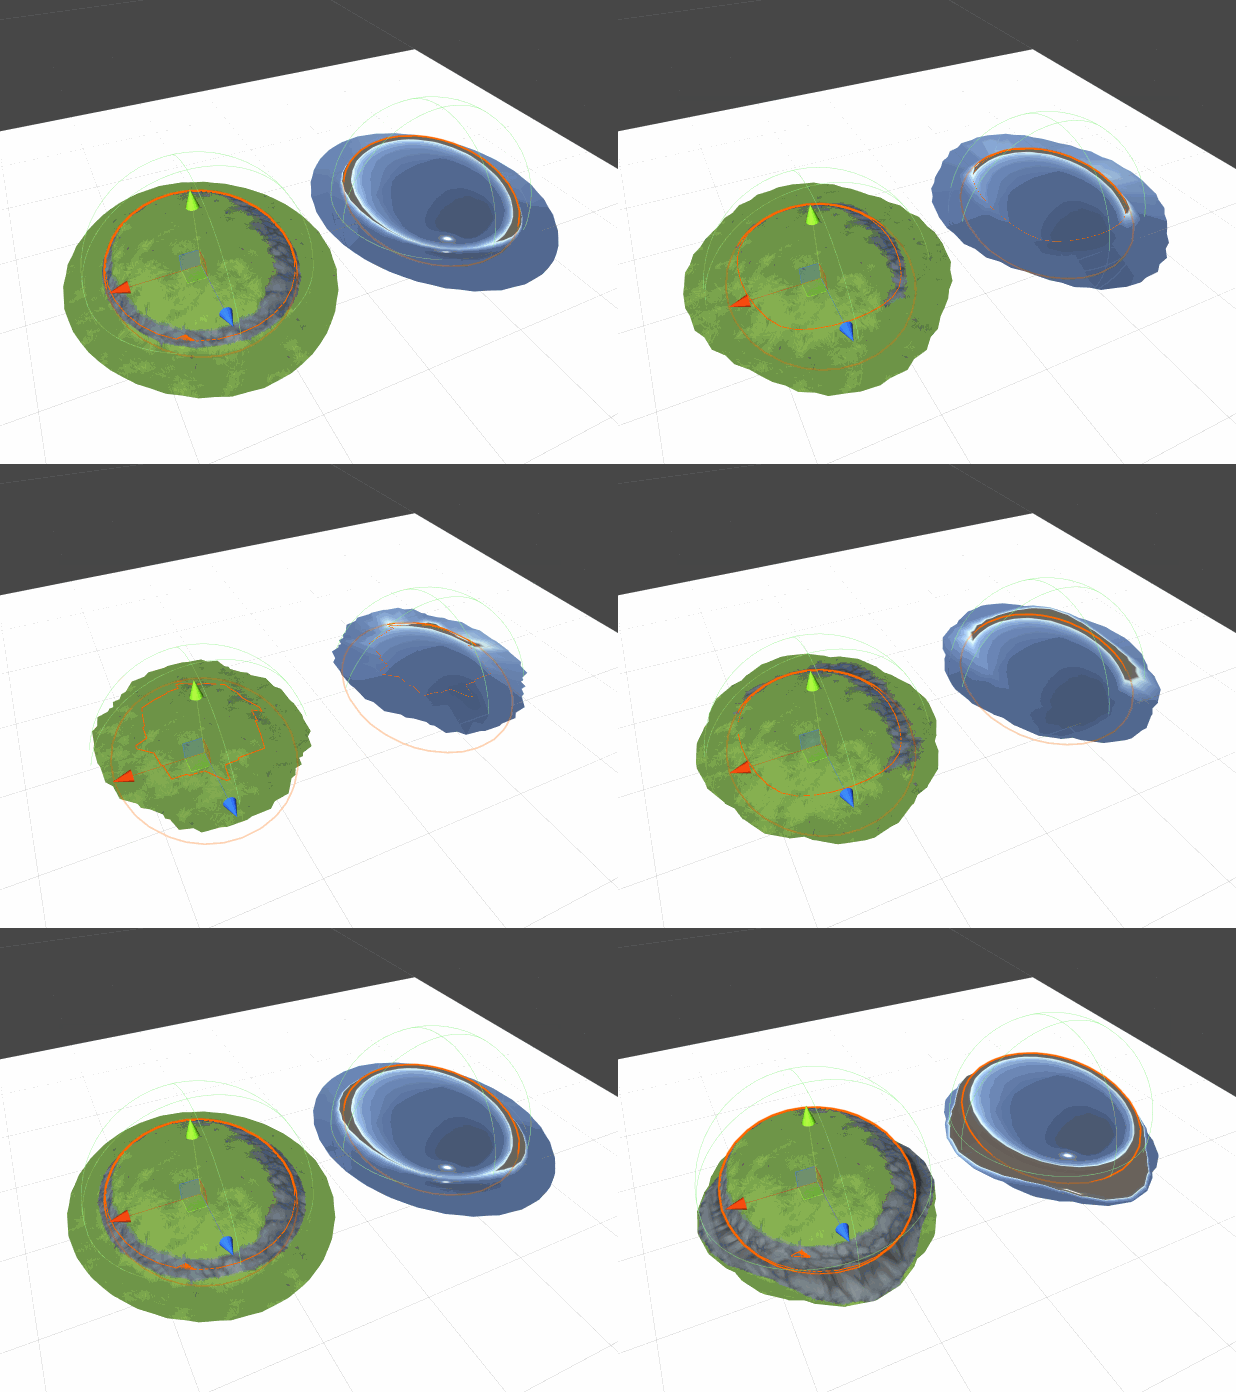
Below are recordings of the blends in action. On the right, I have it on a cube and sphere. On the cube, there isn't anything to see because the normals on any of the faces only point in one direction, thus only receive one texture. The sphere has 3 textures, just like the cube but blending of the textures occurs. On the right, I replaced the white texture with another rock texture. This resulted in a platform with grass on the top and bottom, but rocks all around the side. My next step for it would be to exclude the bottom from the grass texture.
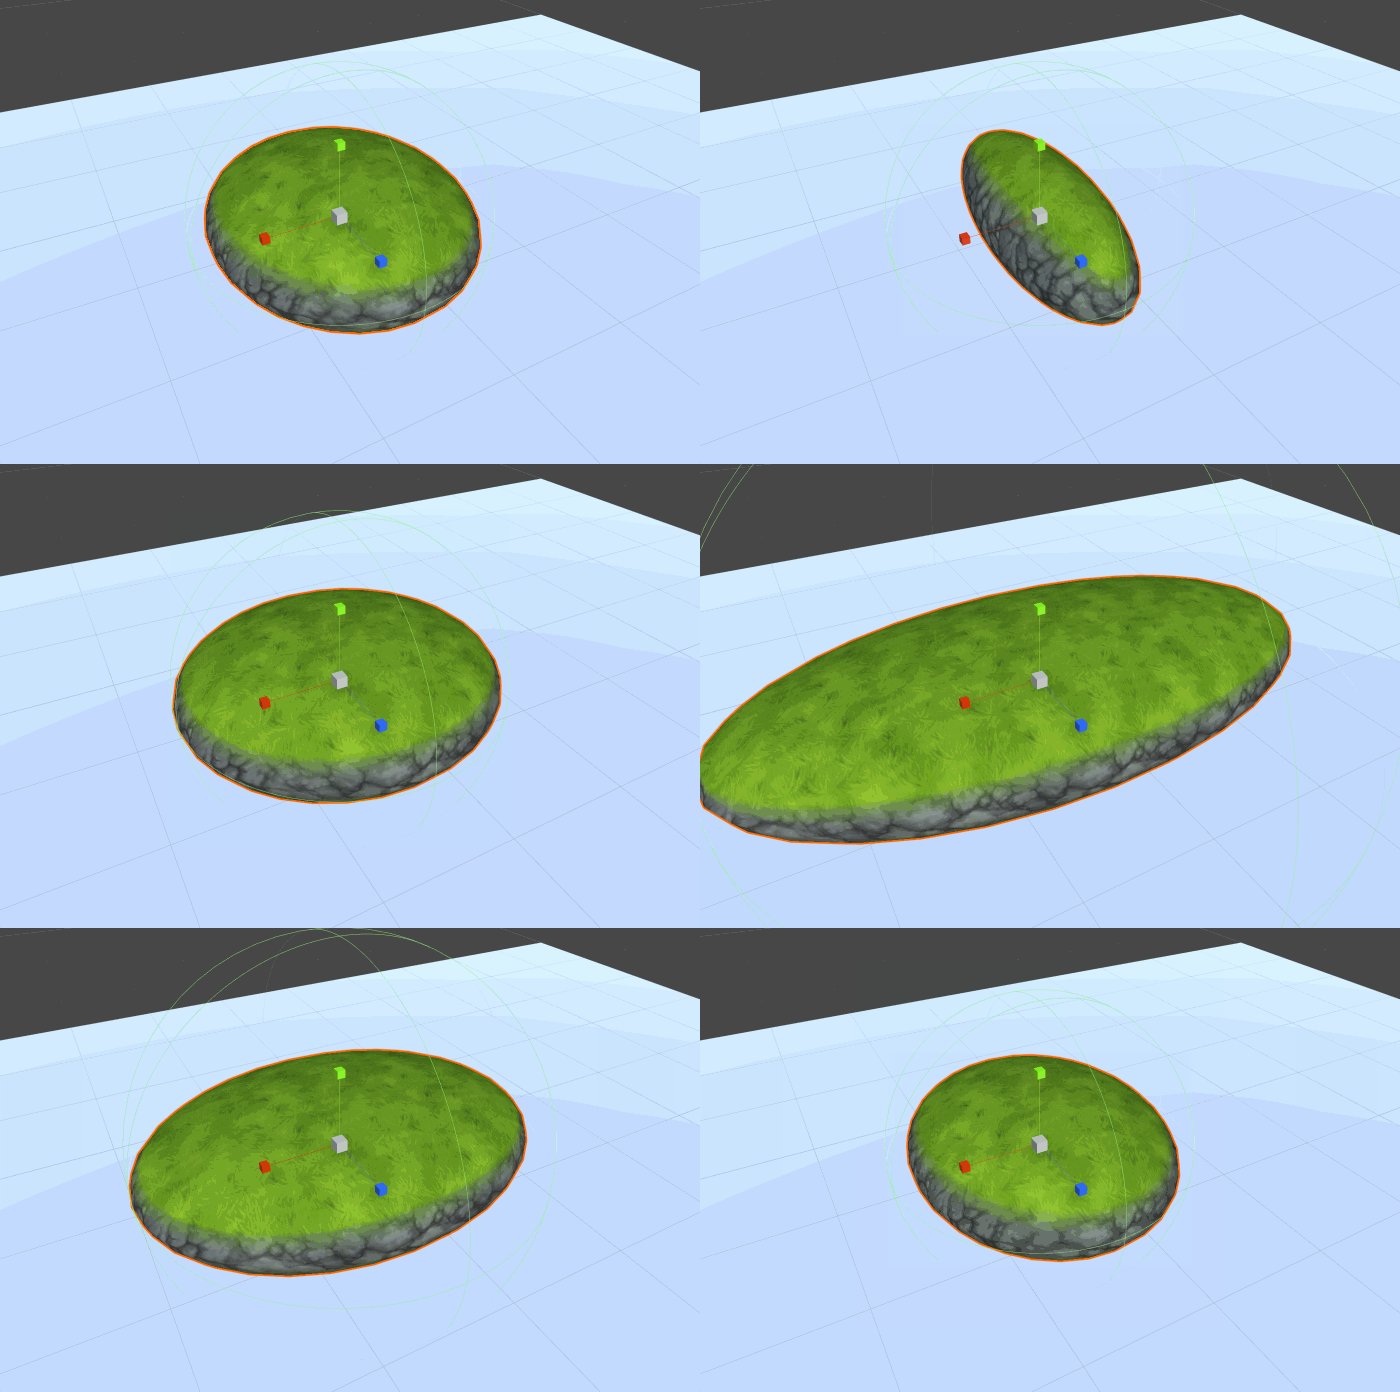
Hard vs. Blend
I didn't have much time this week with PaxEast, but I still wanted to keep up with the weekly posts. I think I'm still trucking along well, and I can't wait to take this to the next level with additional normal maps and blend forms.
Here is a comparison of the Hard Edge and Blended Edge materials I ended with:
